Install , view and delete Fonts
 Wanna use some new, different fonts? I you get bored of usual fonts installed in your system and want to try some new fonts then try this, here are steps to install new fonts:
Vista or Window7 Users
Install new FONTS
1). Download font which you want to install from internet.
2). Right click on that font and click on install.
A small window will appear showing the progress on adding the new fonts to your system. Your new fonts will be ready to use as soon as this window auto-closes.
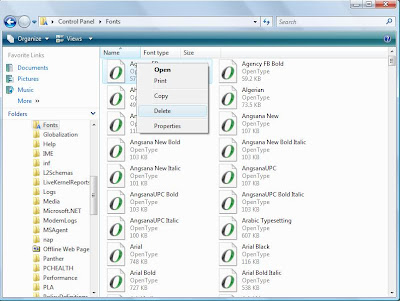
View and Delete FONTS
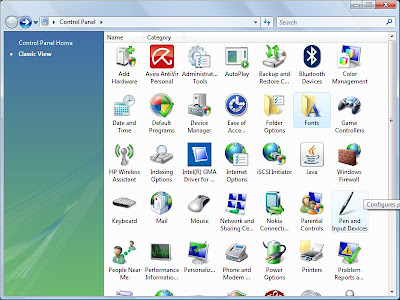
1). Open control Panel.
2). In control panel, Double click on font.
3). Here you can view all installed fonts, you can open any font.
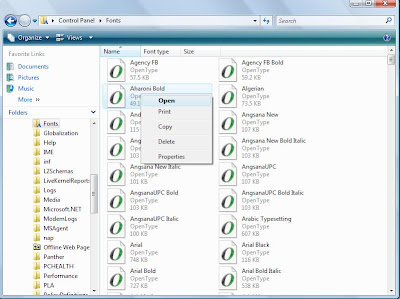
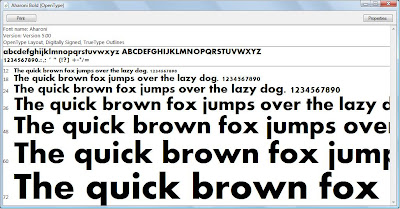
4). To open right click on font and then select open. Here you can see font information at top and its preview.
5). To delete font, Right click on font and then click on Delete.
Window XP Users
1). Open control Panel.
2). Click on Appearance and themes.
3). Here click on font present on left sidebar.
4). To install new font, Go to file menu and click on install new font.
It will open a window where you have to browse to location of new font. after browsing click on install.
5). To view or delete font Right click on that font and choose open or delete.
Labels: Delete, Display, Font, Tricks, VISTA Tricks, XP Tricks
posted by admin @ 12:22 AM
0 Comments
![]()
![]()

0 Comments:
Post a Comment
Subscribe to Post Comments [Atom]
<< Home